Mastering Diamond Setting: A Step-by-Step Guide to Different Techniques

Exploring the Basics of Diamond Setting
When it comes to Diamond Setting, it refers to the process of securely placing a diamond or gemstone onto a piece of jewelry, such as a ring, necklace, or bracelet. This step is crucial as it not only enhances the beauty of the jewelry but also ensures that the precious stone remains in place for years to come.
What is Diamond Setting?
Definition and Importance
The art of Diamond Setting involves skillfully positioning and securing a diamond onto a piece of jewelry using various techniques. It plays a vital role in adding value and aesthetic appeal to the final jewelry piece. The precision and expertise required in this process contribute significantly to the overall quality and durability of the jewelry.
The Role of a Diamond Setter
A Diamond Setter is responsible for meticulously placing and securing diamonds onto different types of jewelry. Their expertise lies in understanding various setting techniques and using specialized tools to ensure that each diamond is perfectly showcased while being firmly held in place.
Types of Diamond Settings Overview
Prong, Bezel, and More
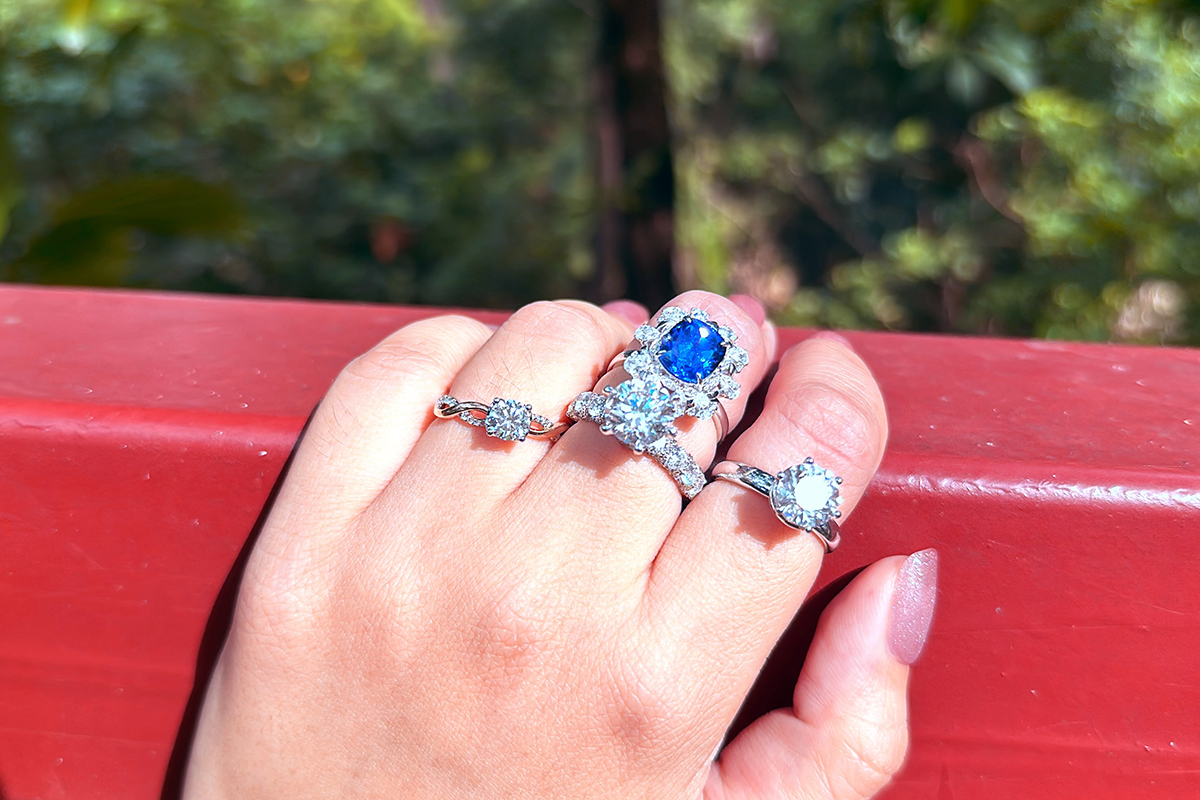
There are several Different Techniques used in Diamond Setting, with prong setting and bezel setting being among the most popular choices. Each technique offers unique advantages and visual effects, allowing individuals to choose a setting that best complements their diamond or gemstone.
Choosing the Right Setting for Your Diamond
Selecting the appropriate setting for your diamond involves considering factors such as security, visibility, and personal preference. Whether it's the classic elegance of prong setting or the protective embrace of bezel setting, understanding these options is essential for making an informed decision about showcasing your precious stone.
Understanding Different Techniques in Diamond Setting
Now that we have explored the basics of Diamond Setting, let's delve into the specific techniques used to secure these precious stones onto jewelry. Two popular methods are prong setting and bezel setting, each offering distinct advantages and visual effects.
Prong Setting: The Most Popular Technique
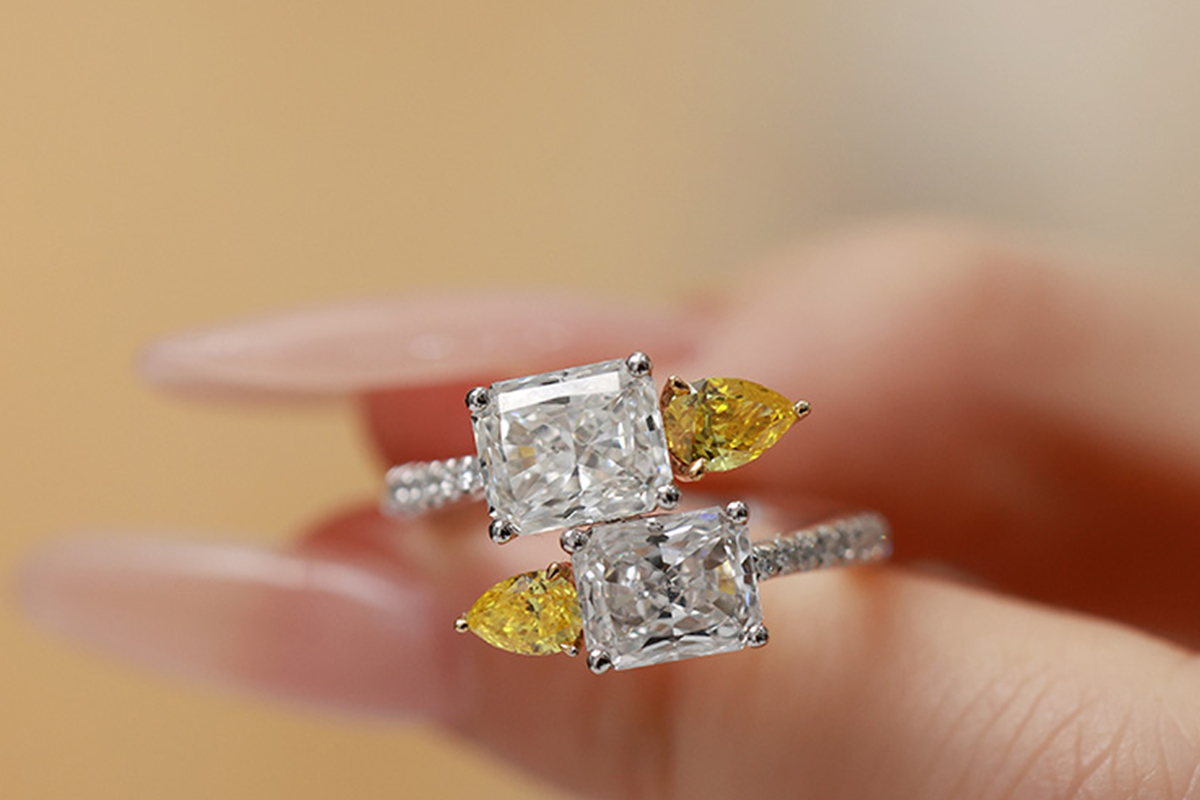
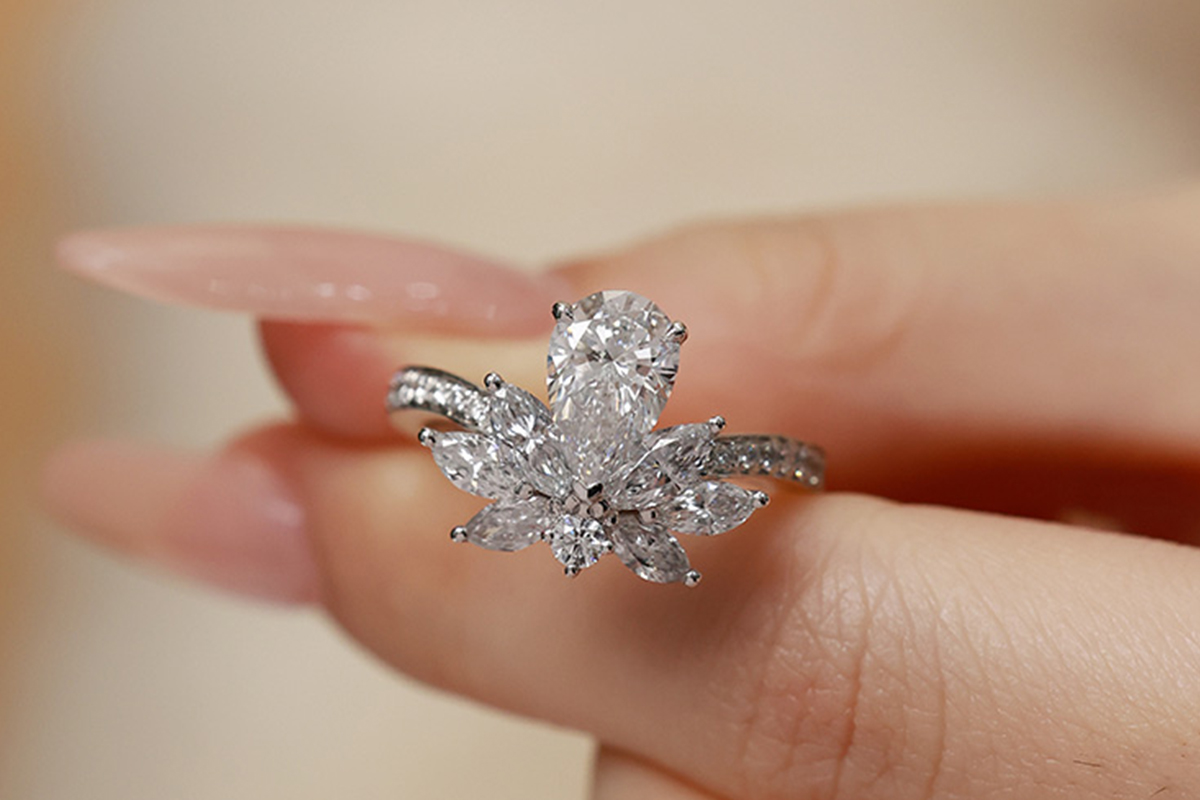
Prong setting is widely recognized as one of the most popular and traditional techniques for securing diamonds onto jewelry. This method involves using small metal claws, known as prongs, to hold the diamond in place.
Advantages of Prong Setting
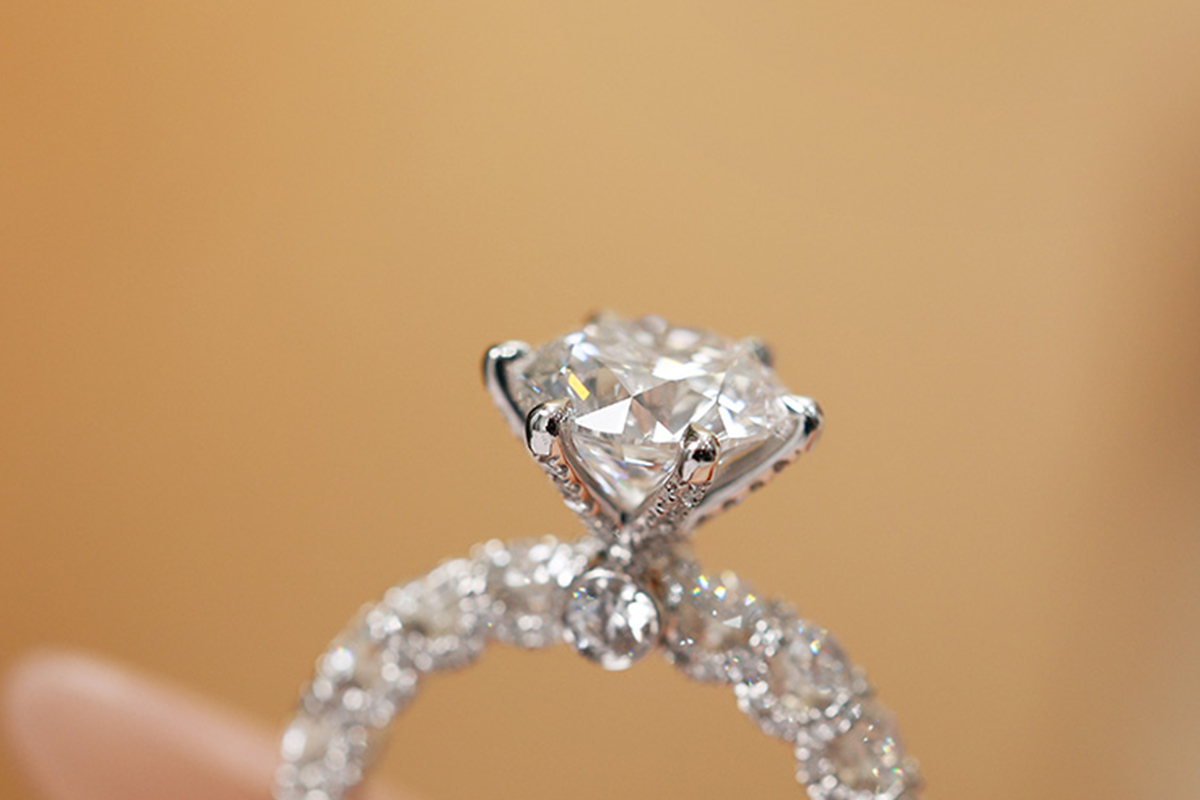
One of the primary advantages of prong setting is its ability to maximize the visibility of the diamond. By lifting the stone above the band, prongs allow light to enter from all angles, enhancing the brilliance and sparkle of the diamond. Additionally, this technique requires minimal metal usage, ensuring that more of the diamond is exposed.
Situations Best Suited for Prong Setting
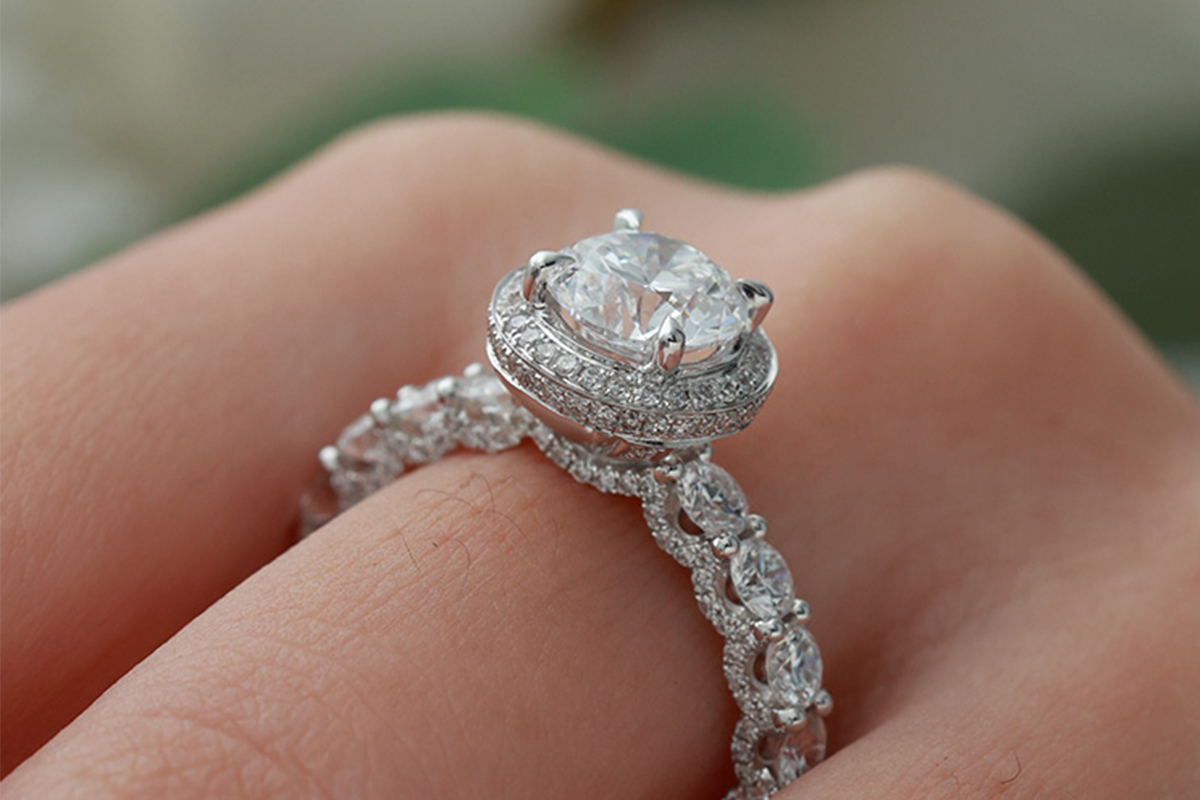
Prong setting is ideal for individuals looking to showcase a diamond's beauty without obstruction. It is particularly well-suited for solitaire rings, where a single diamond takes center stage and becomes the focal point of the jewelry piece.
Bezel Setting: For Enhanced Protection
In contrast to prong setting, bezel setting offers a different approach by encircling the diamond with a metal rim that secures it in place.
What Makes Bezel Setting Unique
The unique feature of bezel setting lies in its ability to provide enhanced protection for the diamond. The metal rim surrounds the entire perimeter of the stone, holding it firmly and safeguarding it against potential damage or impact.
Why Choose Bezel Over Others
Individuals who lead active lifestyles or work with their hands may prefer bezel setting due to its secure nature. This technique ensures that the diamond remains well-protected from external forces while maintaining an elegant and sleek appearance.
By understanding these two prominent techniques - prong setting and bezel setting, individuals can make informed decisions about how they want their diamonds to be showcased on their jewelry pieces.
Step-by-Step Guide to Prong Setting
Now that we have gained an understanding of the different techniques in diamond setting, let's take a closer look at the step-by-step process involved in prong setting. This popular technique requires precision and attention to detail to ensure that the diamond is securely held in place while maximizing its brilliance.
Tools and Materials Needed
Before embarking on the prong setting process, it's essential to gather the necessary tools and materials. Here's what you'll need:
Preparing Your Workspace
Workbench: A sturdy and well-lit workbench provides a stable surface for performing intricate tasks.
Magnifying Lamp: This tool aids in magnifying the details, allowing for better visibility during the setting process.
Setting Tools: Specialized tools such as prong pushers, pliers, and tweezers are essential for manipulating the metal prongs with precision.
Cleaning Solution: A mild cleaning solution and soft cloth are required to clean the jewelry piece after completing the setting.
Safety First: Protective Equipment
Safety Glasses: Protecting your eyes from any small metal particles or debris is crucial during the setting process.
Gloves: Wearing gloves ensures a secure grip on both the jewelry piece and the setting tools, minimizing the risk of accidents.
The Process of Prong Setting
Now, let's walk through the step-by-step process of executing a successful prong setting:
Step 1: Securing the Diamond
Carefully place your diamond in its designated position on the jewelry piece. Ensure that it sits evenly and securely within its intended placement.
Step 2: Adjusting the Prongs
Using specialized prong pushers and pliers, gently manipulate each prong to secure the diamond in place. Take care to apply even pressure to each prong, ensuring that they hold the diamond firmly without exerting excessive force.
Step 3: Finishing Touches
Once all prongs are adjusted to securely hold the diamond, inspect the jewelry piece under magnification to ensure that everything is aligned correctly. Clean any excess debris or residue from around the prongs using a mild cleaning solution and a soft cloth.
By following these steps meticulously, you can achieve a beautifully executed prong setting that showcases your diamond elegantly while ensuring its security.
Advancing Your Skills with Bezel Setting
Now that we have explored prong setting in detail, let's advance our understanding by delving into the technique of bezel setting. This method offers a different approach to securing diamonds onto jewelry and provides enhanced protection for the precious stone.
Tools and Materials for Bezel Setting
Differences from Prong Setting Tools
When transitioning from prong setting to bezel setting, it's essential to acquire specialized tools tailored to the unique requirements of this technique. Unlike prong setting, which utilizes prong pushers and pliers, bezel setting requires tools such as bezel rollers, burnishers, and metal files. These tools are specifically designed to shape and secure the metal rim around the diamond, ensuring a snug fit and a polished finish.
Preparing Your Materials
Before commencing the bezel setting process, it's crucial to prepare your materials meticulously. Ensure that you have:
A suitable metal rim: Select a metal rim that complements the diamond's size and shape, providing a secure enclosure while enhancing its visual appeal.
Polishing equipment: Have polishing tools on hand to refine the metal rim and achieve a smooth, lustrous finish that complements the brilliance of the diamond.
Cleaning solutions: Similar to prong setting, mild cleaning solutions and soft cloths are necessary for removing any debris or residue after completing the bezel setting process.
The Bezel Setting Process
Step 1: Creating the Bezel
The first step in executing a successful bezel setting involves creating the metal rim that will encircle and secure the diamond. Using specialized tools such as bezel rollers and metal files, carefully shape the metal rim to match the dimensions of the diamond. It's crucial to achieve a precise fit that holds the diamond securely while allowing its beauty to shine through.
Step 2: Securing the Diamond
Once the metal rim is shaped appropriately, gently position and secure the diamond within it. Take care to ensure that the stone sits evenly and securely within its enclosure. Using burnishers and other shaping tools, carefully press and shape the metal around the diamond, creating a snug fit that holds it firmly in place.
Step 3: Final Adjustments and Polishing
After securing the diamond within its bezel, perform a thorough inspection under magnification to ensure that everything is aligned correctly. Make any final adjustments as needed to ensure a perfect fit. Once satisfied with the placement, use polishing equipment to refine and smoothen any rough edges on the metal rim, achieving a polished finish that complements both the diamond and its surrounding jewelry piece.
By mastering both prong setting and bezel setting, individuals can expand their skills in showcasing diamonds on various jewelry pieces with precision and expertise.
Wrapping Up
As we conclude our journey into the art of diamond setting, let's take a moment to recap the essential techniques and explore tips for continuous improvement in this intricate craft.
Recap of Diamond Setting Techniques
Throughout this guide, we have delved into the fundamental aspects of diamond setting, uncovering the significance of techniques such as prong setting and bezel setting. Each method offers distinct advantages, from maximizing the visibility and brilliance of diamonds to providing enhanced protection for these precious stones. Understanding the nuances of each technique empowers individuals to make informed decisions about showcasing their diamonds on various jewelry pieces.
Tips for Continuous Improvement
Practice Makes Perfect
Like any skill, mastering diamond setting requires dedication and practice. By consistently honing your abilities and familiarizing yourself with different setting techniques, you can elevate your craftsmanship and create stunning jewelry pieces that reflect precision and expertise.
Keeping Up with New Techniques
The world of jewelry making is dynamic, with new techniques and innovations continually emerging. Staying abreast of these developments through workshops, industry publications, and networking with fellow artisans allows you to expand your repertoire of skills and adapt to evolving trends in diamond setting.
By embracing a mindset of continuous learning and improvement, you can elevate your proficiency in diamond setting, creating timeless pieces that captivate admirers with their beauty and craftsmanship.
In conclusion, mastering diamond setting is an art form that intertwines tradition with innovation, precision with creativity. Whether you choose the classic allure of prong setting or the protective embrace of bezel setting, each technique holds its own charm and significance in enhancing the beauty of diamonds on jewelry pieces. As you embark on your journey as a diamond setter or enthusiast, may this guide serve as a valuable resource in honing your skills and deepening your understanding of this timeless craft.
With dedication and an unwavering passion for excellence, you can continue to create exquisite jewelry pieces that celebrate the brilliance and allure of diamonds for generations to come.